OSOSS · Product updates

Release 25

21 April 2026

Review draft. Confirm availability before sending; unfinished features are marked as previews.

Understand stock by branch

Illustrated workflow, not a product screenshot

Illustrated workflow, not a product screenshot

Business value

Compare stock cost and selling value at branch level.

How to use

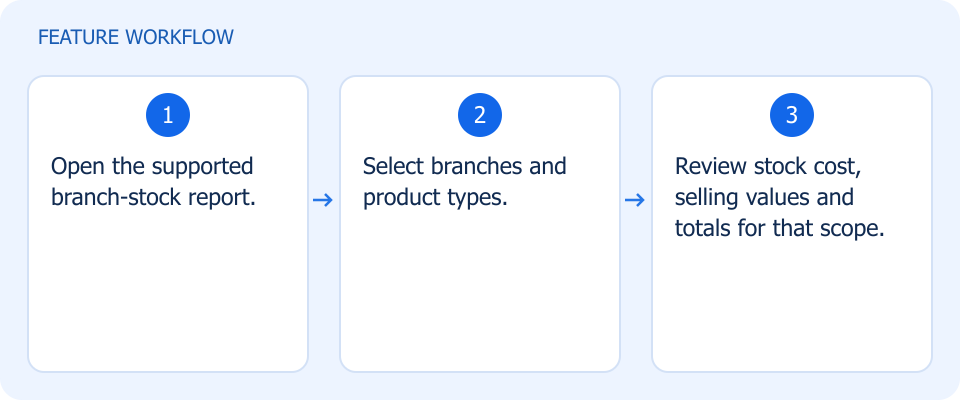
  1. Open the supported branch-stock report.
  2. Select branches and product types.
  3. Review stock cost, selling values and totals for that scope.

Understand stock by branch

Illustrated workflow, not a product screenshot

Illustrated workflow, not a product screenshot

Business value

Find threshold exceptions for specific products and branches.

How to use

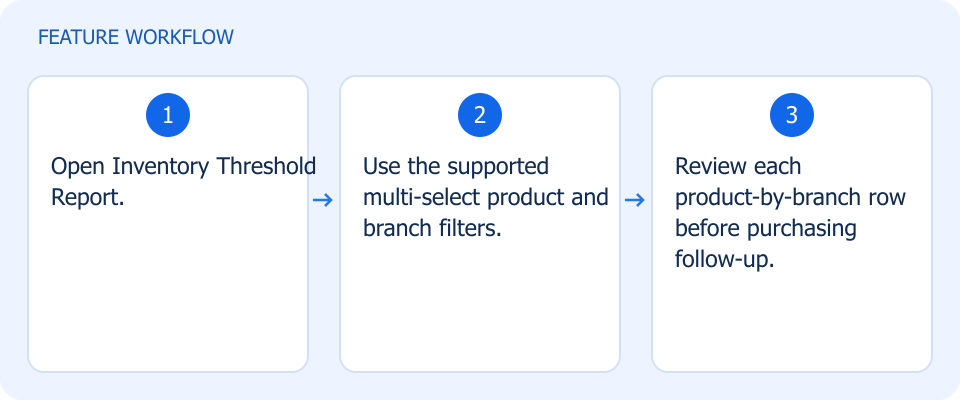
  1. Open Inventory Threshold Report.
  2. Use the supported multi-select product and branch filters.
  3. Review each product-by-branch row before purchasing follow-up.

Change thresholds—not stock

Illustrated workflow, not a product screenshot

Illustrated workflow, not a product screenshot

Business value

Update alert policy without accidentally changing stock or cost.

Use the dedicated threshold update import to change quantity and expiry alerts without changing stock or cost.

How to use

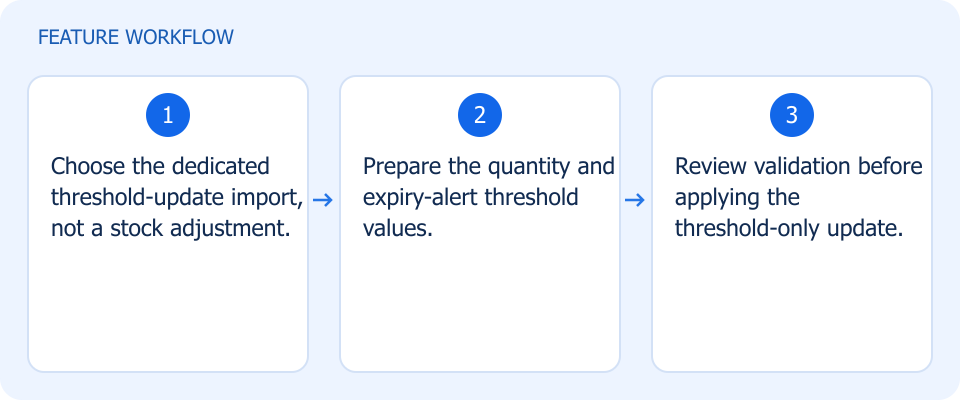
  1. Choose the dedicated threshold-update import, not a stock adjustment.
  2. Prepare the quantity and expiry-alert threshold values.
  3. Review validation before applying the threshold-only update.

Prepare stock plans at your pace

Illustrated workflow, not a product screenshot

Illustrated workflow, not a product screenshot

Business value

Prepare a redistribution or shortage plan before committing it.

Save redistribution and shortage documents as drafts, with fixed table headers and clearer variant details.

How to use

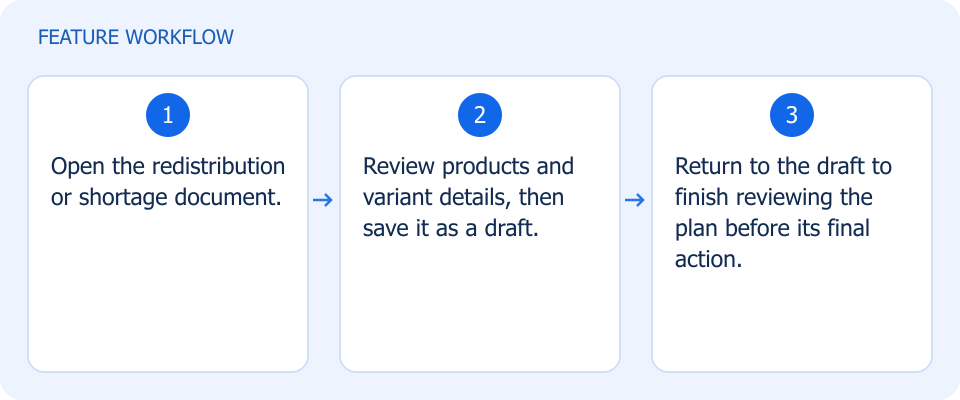
  1. Open the redistribution or shortage document.
  2. Review products and variant details, then save it as a draft.
  3. Return to the draft to finish reviewing the plan before its final action.

Choose the right stock-count scope

Illustrated workflow, not a product screenshot

Illustrated workflow, not a product screenshot

Business value

Match counting behavior to whether you are counting selected items or the whole scope.

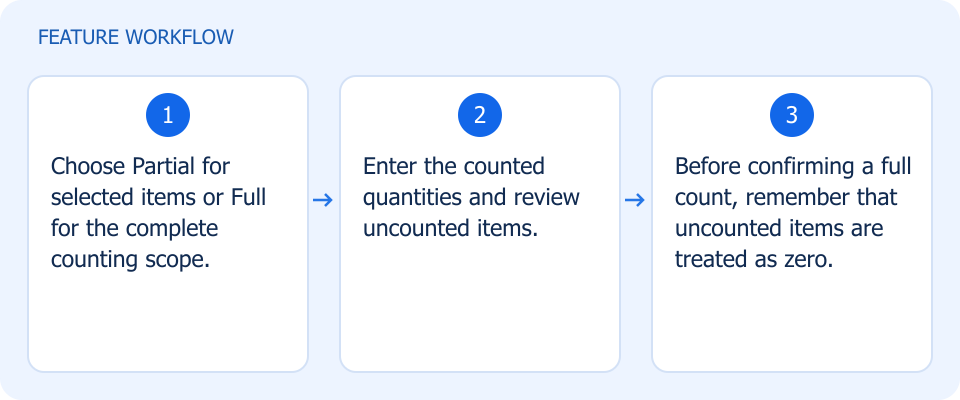
Use partial counts for selected items or full counts for the complete scope. In full counts, uncounted items are treated as zero.

How to use

  1. Choose Partial for selected items or Full for the complete counting scope.
  2. Enter the counted quantities and review uncounted items.
  3. Before confirming a full count, remember that uncounted items are treated as zero.

Manage brand data in bulk

Illustrated workflow, not a product screenshot

Illustrated workflow, not a product screenshot

Business value

Maintain brand identity and search metadata in bulk.

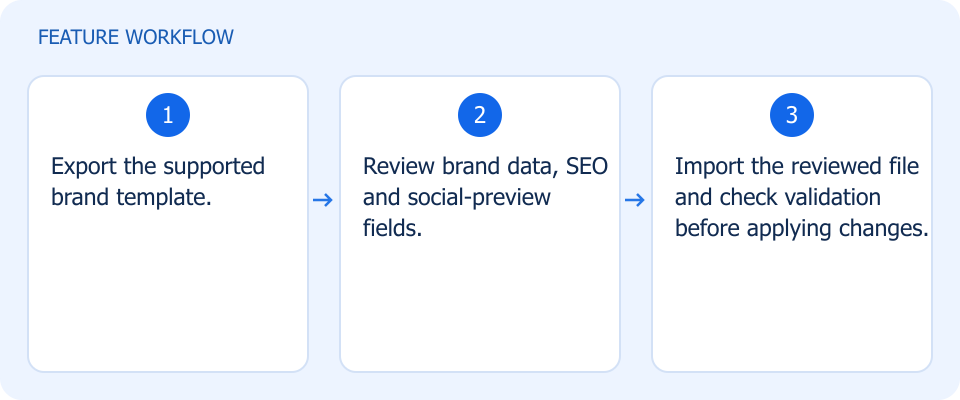
Import and export brands, including their SEO and social-preview fields, through the supported import flow.

How to use

  1. Export the supported brand template.
  2. Review brand data, SEO and social-preview fields.
  3. Import the reviewed file and check validation before applying changes.

Protect your margin at checkout

Illustrated workflow, not a product screenshot

Illustrated workflow, not a product screenshot

Business value

Prevent permitted item discounts from taking the price below cost.

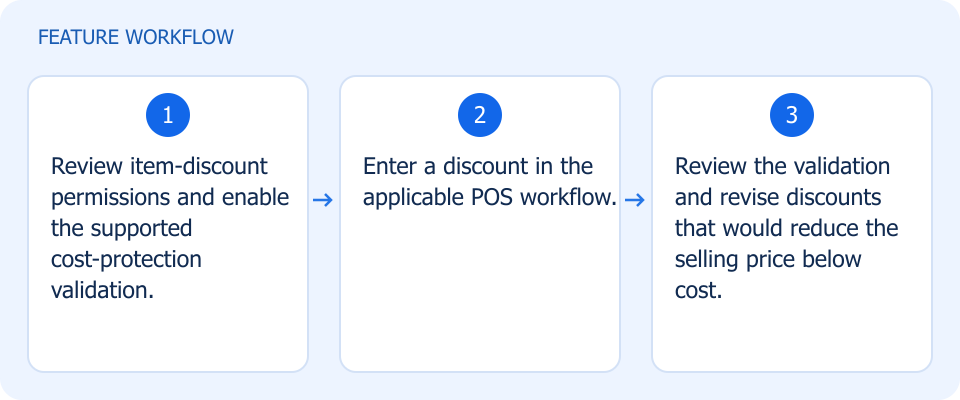
Enable cost-protection validation within item-discount permissions to reject discounts that reduce the selling price below cost.

How to use

  1. Review item-discount permissions and enable the supported cost-protection validation.
  2. Enter a discount in the applicable POS workflow.
  3. Review the validation and revise discounts that would reduce the selling price below cost.

Clearer drawer records and exchanges

Illustrated workflow, not a product screenshot

Illustrated workflow, not a product screenshot

Business value

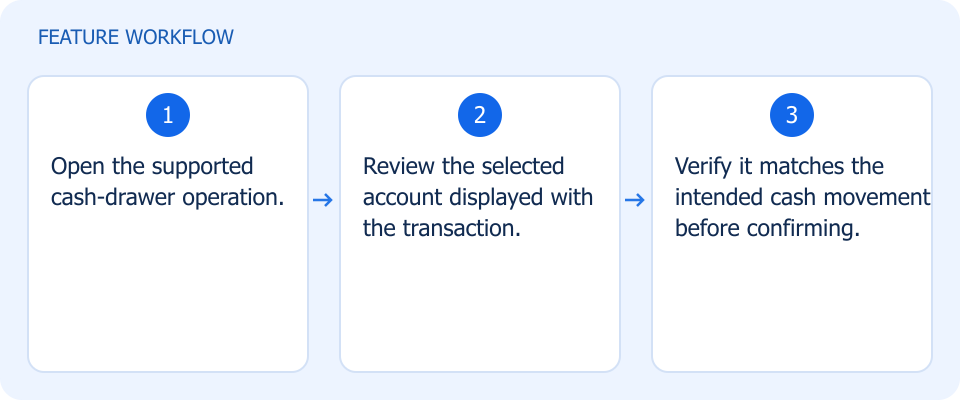
Know which account is used by a cash-drawer operation.

How to use

  1. Open the supported cash-drawer operation.
  2. Review the selected account displayed with the transaction.
  3. Verify it matches the intended cash movement before confirming.

Clearer drawer records and exchanges

Illustrated workflow, not a product screenshot

Illustrated workflow, not a product screenshot

Business value

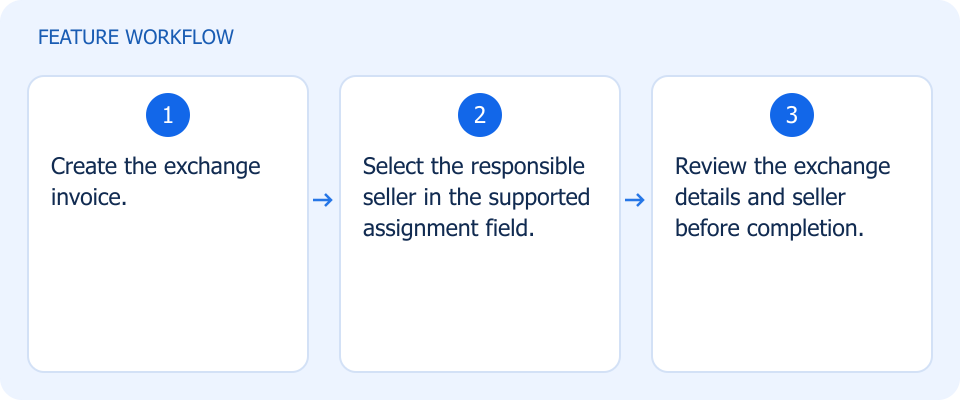
Attribute an exchange to the responsible seller.

How to use

  1. Create the exchange invoice.
  2. Select the responsible seller in the supported assignment field.
  3. Review the exchange details and seller before completion.

See available cash and spending

Illustrated workflow, not a product screenshot

Illustrated workflow, not a product screenshot

Business value

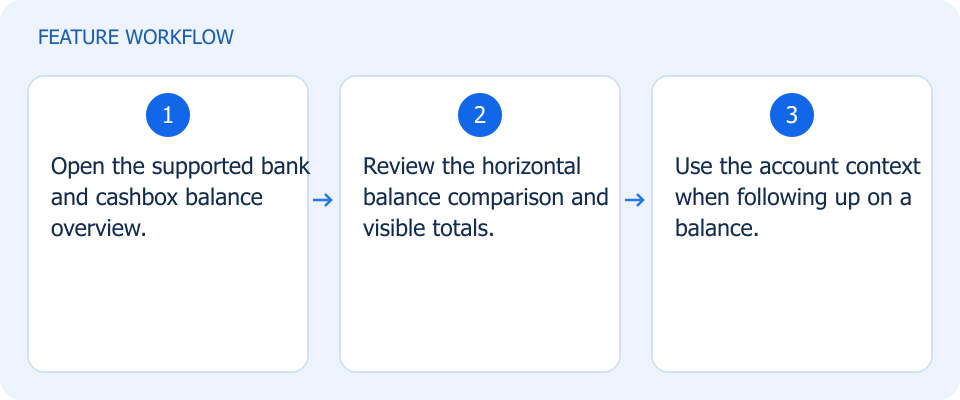
Compare bank and cashbox liquidity at a glance.

How to use

  1. Open the supported bank and cashbox balance overview.
  2. Review the horizontal balance comparison and visible totals.
  3. Use the account context when following up on a balance.

See available cash and spending

Illustrated workflow, not a product screenshot

Illustrated workflow, not a product screenshot

Business value

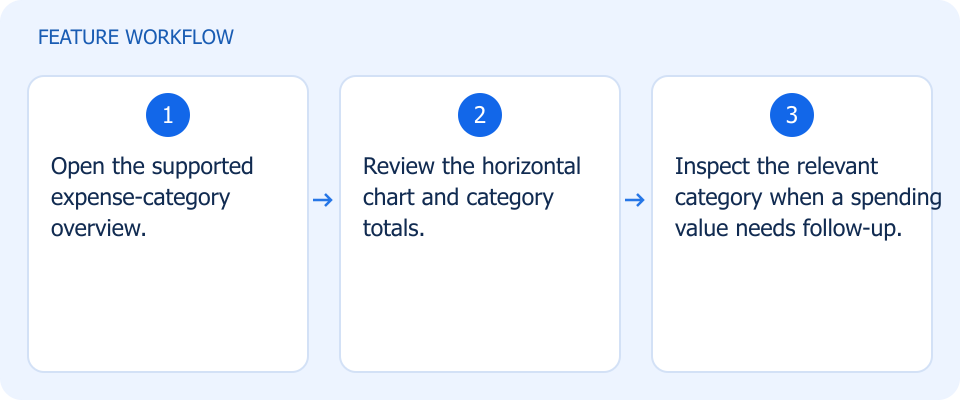
See which expense categories contribute to spending.

How to use

  1. Open the supported expense-category overview.
  2. Review the horizontal chart and category totals.
  3. Inspect the relevant category when a spending value needs follow-up.

Take Profit & Loss into Excel

Illustrated workflow, not a product screenshot

Illustrated workflow, not a product screenshot

Business value

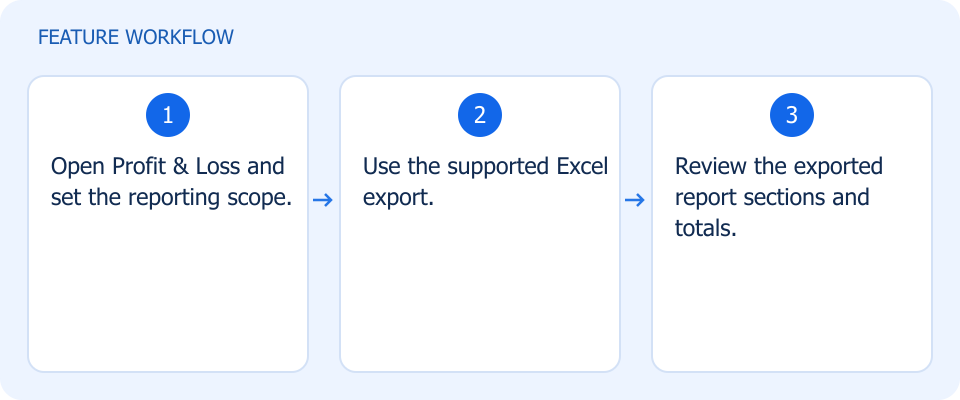
Continue financial analysis in Excel without rebuilding the report.

Export the income statement with its report sections and totals for further analysis and sharing.

How to use

  1. Open Profit & Loss and set the reporting scope.
  2. Use the supported Excel export.
  3. Review the exported report sections and totals.

Follow repairs through to collection

Illustrated workflow, not a product screenshot

Illustrated workflow, not a product screenshot

Business value

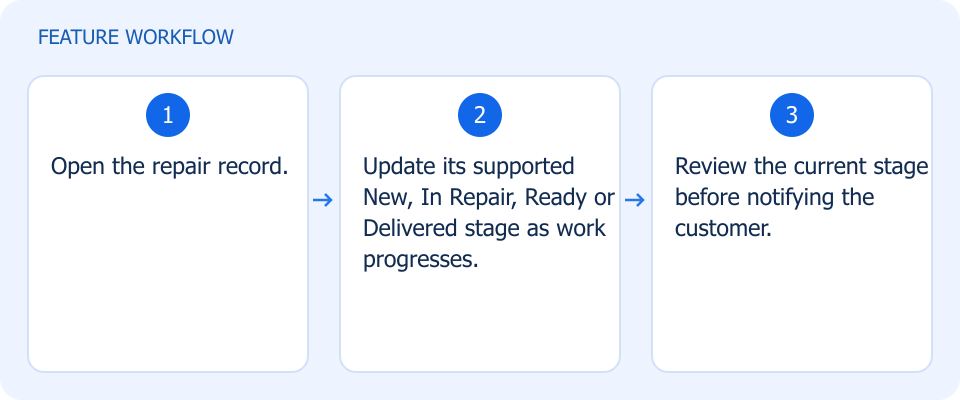
Track repair progress from intake through customer collection.

How to use

  1. Open the repair record.
  2. Update its supported New, In Repair, Ready or Delivered stage as work progresses.
  3. Review the current stage before notifying the customer.

Follow repairs through to collection

Illustrated workflow, not a product screenshot

Illustrated workflow, not a product screenshot

Business value

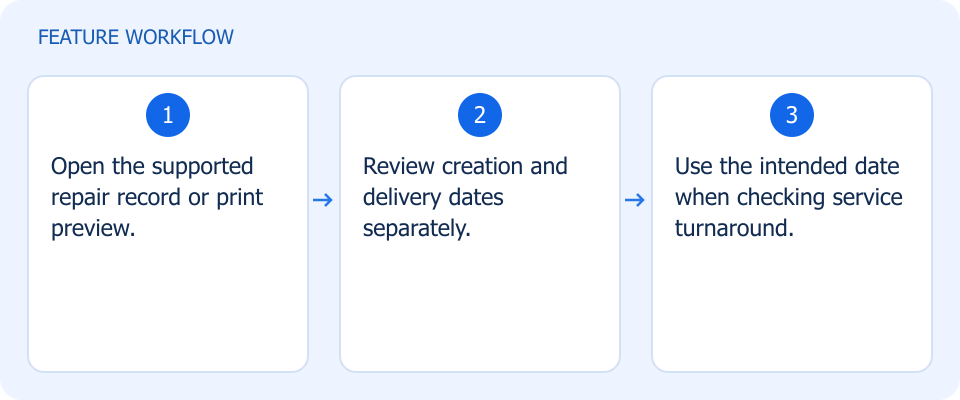
Distinguish when work was created from when it was delivered.

How to use

  1. Open the supported repair record or print preview.
  2. Review creation and delivery dates separately.
  3. Use the intended date when checking service turnaround.

Quotations with clearer wording

Illustrated workflow, not a product screenshot

Illustrated workflow, not a product screenshot

Business value

Use a clearer name for a sales offer document.

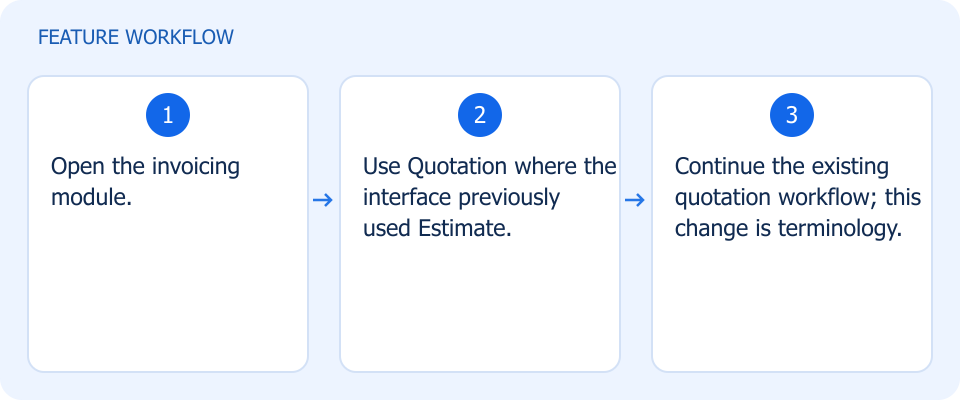
The invoicing module now uses Quotation instead of Estimate for clearer sales communication.

How to use

  1. Open the invoicing module.
  2. Use Quotation where the interface previously used Estimate.
  3. Continue the existing quotation workflow; this change is terminology.

Merchandise with more flexibility

Illustrated workflow, not a product screenshot

Illustrated workflow, not a product screenshot

Business value

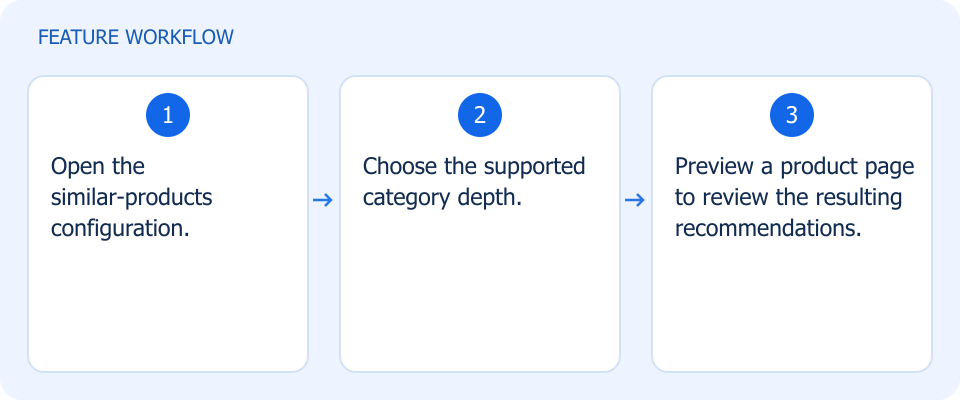
Control how broadly similar products are selected.

How to use

  1. Open the similar-products configuration.
  2. Choose the supported category depth.
  3. Preview a product page to review the resulting recommendations.

Merchandise with more flexibility

Illustrated workflow, not a product screenshot

Illustrated workflow, not a product screenshot

Business value

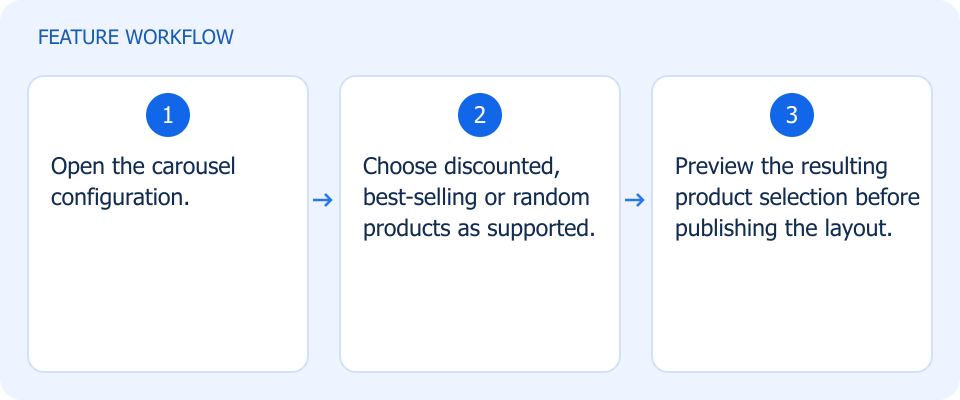
Build product carousels around the merchandising goal.

How to use

  1. Open the carousel configuration.
  2. Choose discounted, best-selling or random products as supported.
  3. Preview the resulting product selection before publishing the layout.

Give shoppers a more focused page

Illustrated workflow, not a product screenshot

Illustrated workflow, not a product screenshot

Business value

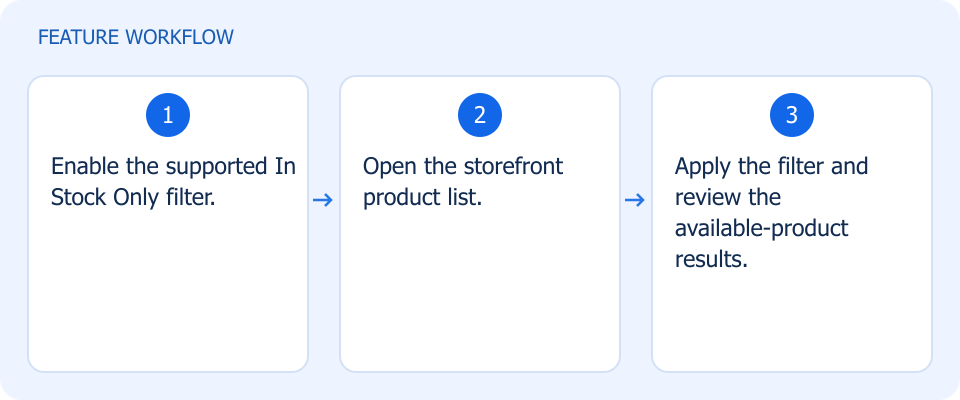
Help shoppers focus on products currently in stock.

How to use

  1. Enable the supported In Stock Only filter.
  2. Open the storefront product list.
  3. Apply the filter and review the available-product results.

Give shoppers a more focused page

Illustrated workflow, not a product screenshot

Illustrated workflow, not a product screenshot

Business value

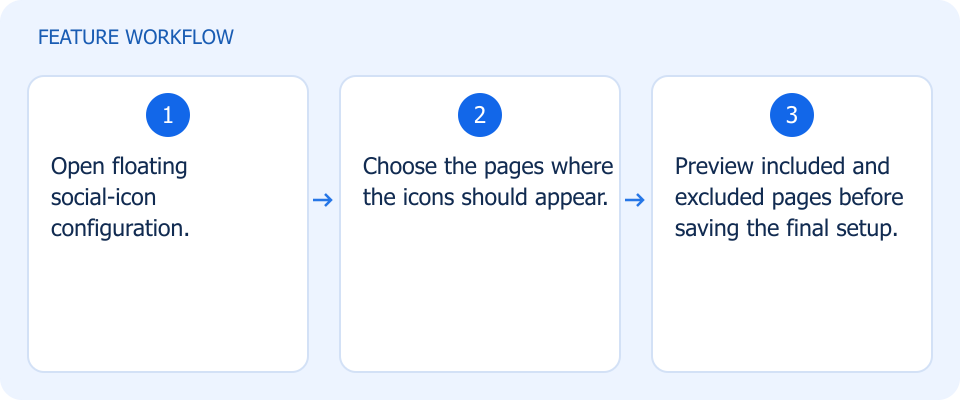
Keep floating social links on the pages where they are useful.

How to use

  1. Open floating social-icon configuration.
  2. Choose the pages where the icons should appear.
  3. Preview included and excluded pages before saving the final setup.