

Mobile App
Your next appointment, a tap away


Business value
Let customers book and manage services without leaving the mobile app.
Let customers choose a service and available slot, complete checkout, and manage bookings from the mobile app.
How to use
- Open an appointment-type service in the mobile app and choose Book Now.
- Choose an available date and time slot, review its price, and complete checkout.
- Open My Appointments to view the booking or cancel it when cancellation is permitted.
Make product add-ons easier to choose


Business value
Keep add-on choices consistent between your website and mobile shopping experience.
Display mobile add-ons as checkboxes, dropdowns, or cards according to dashboard settings.
How to use
- Open the add-on configuration in the dashboard.
- Set Selection Style to Checkbox, Dropdown or Card, then save.
- Open the corresponding product in the mobile app and review the chosen selection style.

POS
See the account balance before the sale


Business value
Make better collection decisions by separating the accounting balance from unpaid sales.
Review the customer’s accounting balance separately from sales amounts due in the POS customer list.
How to use
- Open the customer list in POS and find the customer.
- Read Account Balance separately from Sales Due; note whether the balance is debit or credit.
- Refresh the customer list after a posted accounting transaction to see the latest available balance.
Review custom images on mobile POS


Business value
Confirm the right custom-product image before completing the customer's invoice.
Preview and replace custom-item images from the POS phone or tablet app before completing the invoice.
How to use
- In the POS phone or tablet app, add or open a custom invoice item with an image.
- Open the image preview to check it and replace the image if needed.
- Review the updated item before completing the invoice.

Reports
A clearer month-end with each supplier


Business value
Review what each supplier is owed without manually combining sales, refunds and fees.
Review monthly supplier sales, fees, refunds, and net payable in the permitted settlement report.
How to use
- Open Monthly Supplier Settlement Report with the required report permission.
- Choose the supplier and month, then select View. Supplier accounts are limited to their assigned supplier.
- Review net payable, settlement status and payment date alongside the sales and fee breakdown.
Analyze sales by the responsible seller

Business value
Compare seller performance using the same filtered figures on screen, in print and in exports.
Filter Sales Summary, Sales by Category, Average Sales Invoice, and Sales by Branch by one or multiple sellers.
How to use
- Open Sales Summary, Sales by Category, Average Sales Invoice, or Sales by Branch.
- Use the searchable Seller filter to select one or more sellers, alongside your date and branch filters.
- Review the filtered totals; print or export when you need the same selection outside OSOSS.
Recognize the product behind the figures


Business value
Recognize similar products visually when reviewing stock or sales figures.
Add product-image columns to supported inventory and sales reports for easier identification.
How to use
- Open Sales By Products, Sales By Product Detailed, Item Balances by Branch, Product Inventory Statements, or Inventory Threshold Report.
- Show the Product Image column in the report's column controls; it is hidden by default.
- Review the thumbnail beside each product. Products without an image use the standard placeholder.

Inventory
Hear the result of each barcode scan

Business value
Hear whether a barcode scan succeeded, helping counters catch mistakes without repeatedly checking the screen.
Barcode scans provide success or error audio feedback; unknown scans do not add a product or change counted quantities.
How to use
- Open the stock-counting creation page and scan a product barcode.
- A valid scan adds or updates the counted product and plays the success sound.
- An unknown scan plays the error sound without changing quantities. Check the barcode and continue scanning.
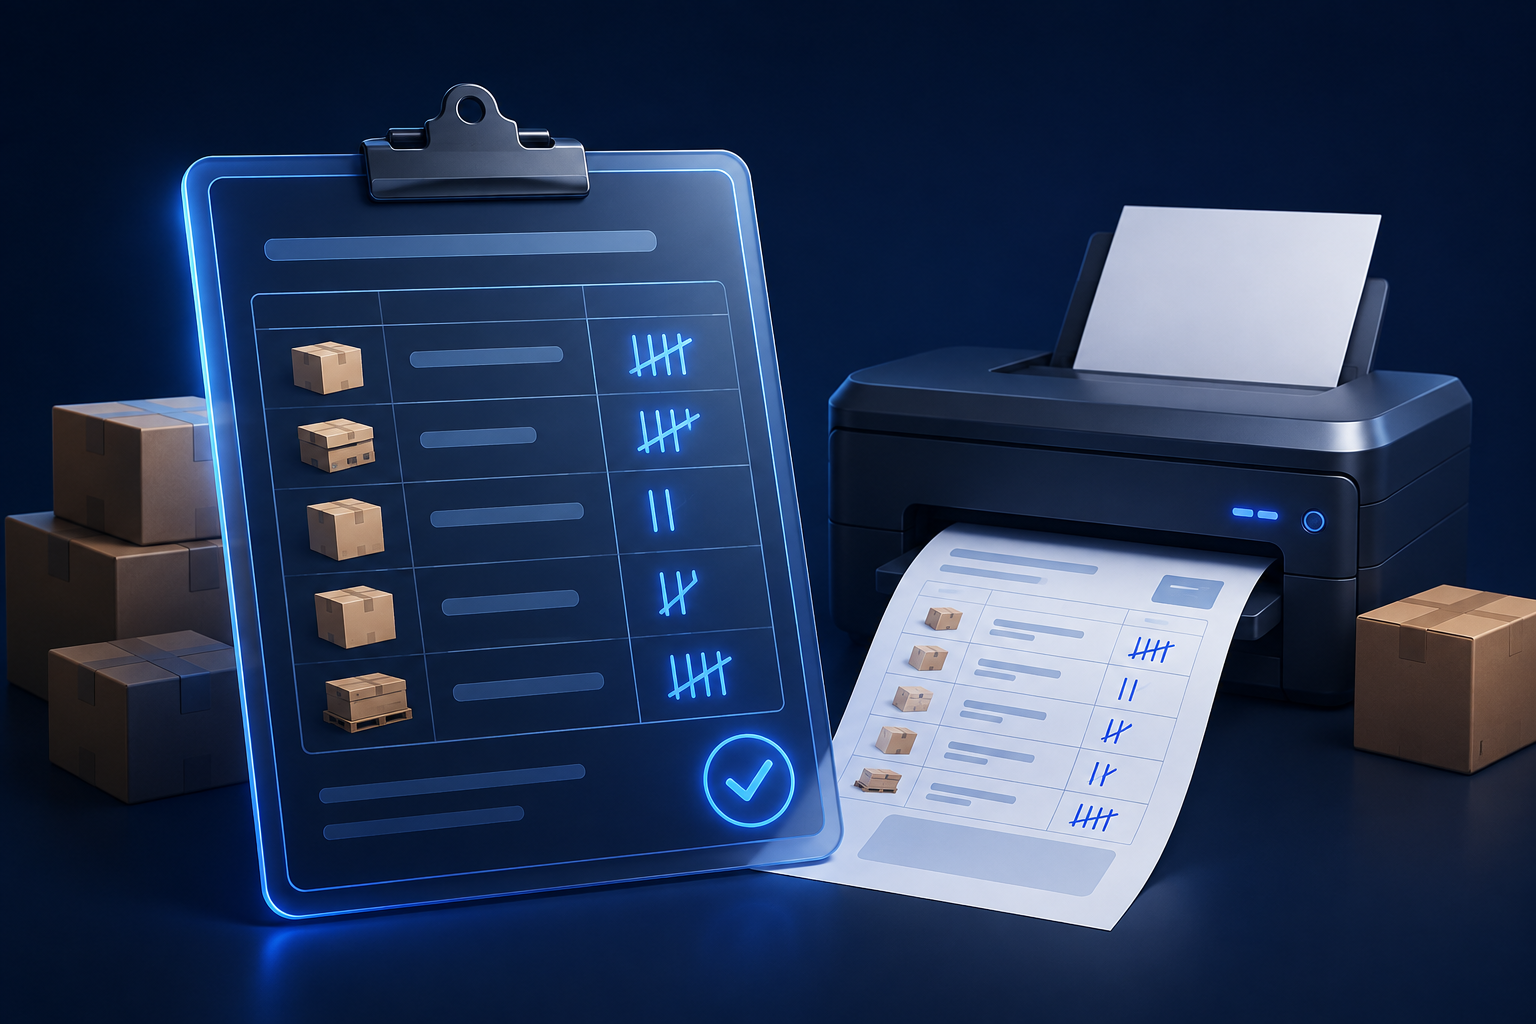
Print your complete stock count

Business value
Give the counting team a clear printable record of quantities and discrepancies.
Print stock-count sessions, overview figures, and product details in a structured A4 document.
How to use
- Open the required Stock Counting details page.
- Choose Print to generate the A4 counting document.
- Review session details, overview quantities and product rows before printing.
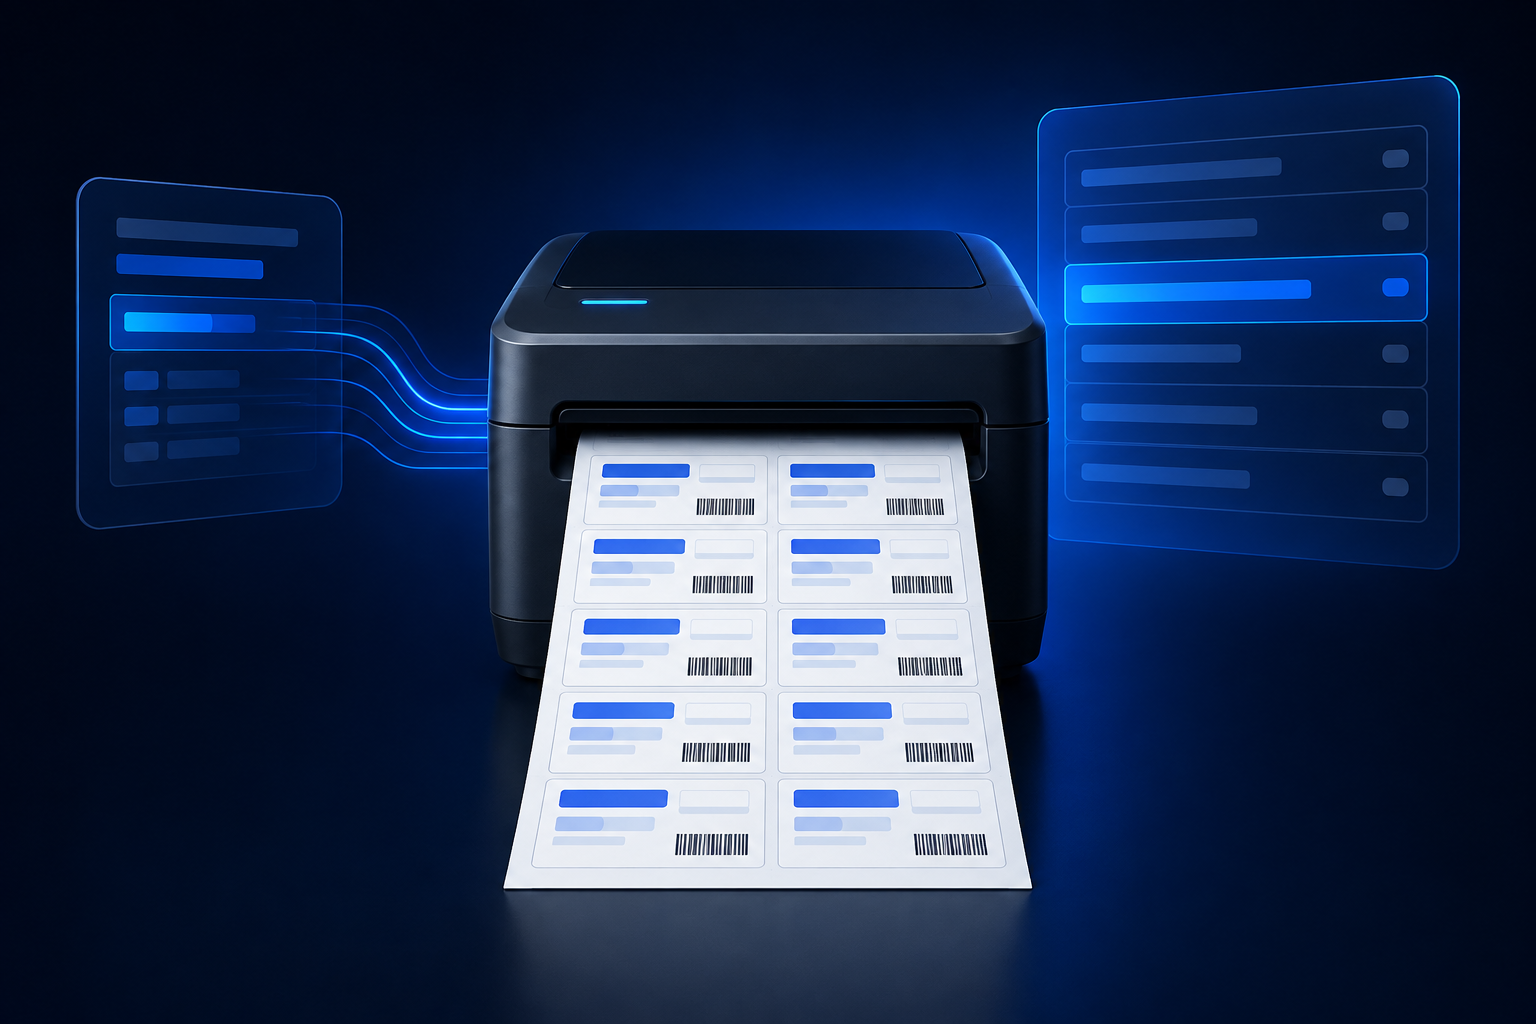
Print shelf-ready prices

Business value
Prepare shelf labels on ordinary A4 sheets with consistent product and pricing information.
Print 12 bilingual shelf labels per A4 sheet with product information, barcodes, and supported unit pricing.
How to use
- Select products for label printing and open Print > Size.
- Choose A4 – Shelf Price Labels and select the fields you want, including Unit Price when applicable.
- Review the 2-column × 6-row preview and print at the intended A4 size. Extra labels continue on another page.
Find suppliers without opening every product


Business value
Identify a product's suppliers from the list and carry that information into purchasing follow-up.
See supplier information in product and inventory lists, filter by supplier, and retain it in exports.
How to use
- Open the Products listing or Inventories listing.
- Review the Vendor/Supplier column for the product; multiple linked suppliers are shown together.
- Use the relevant export when you need the supplier information outside the listing.

Orders App
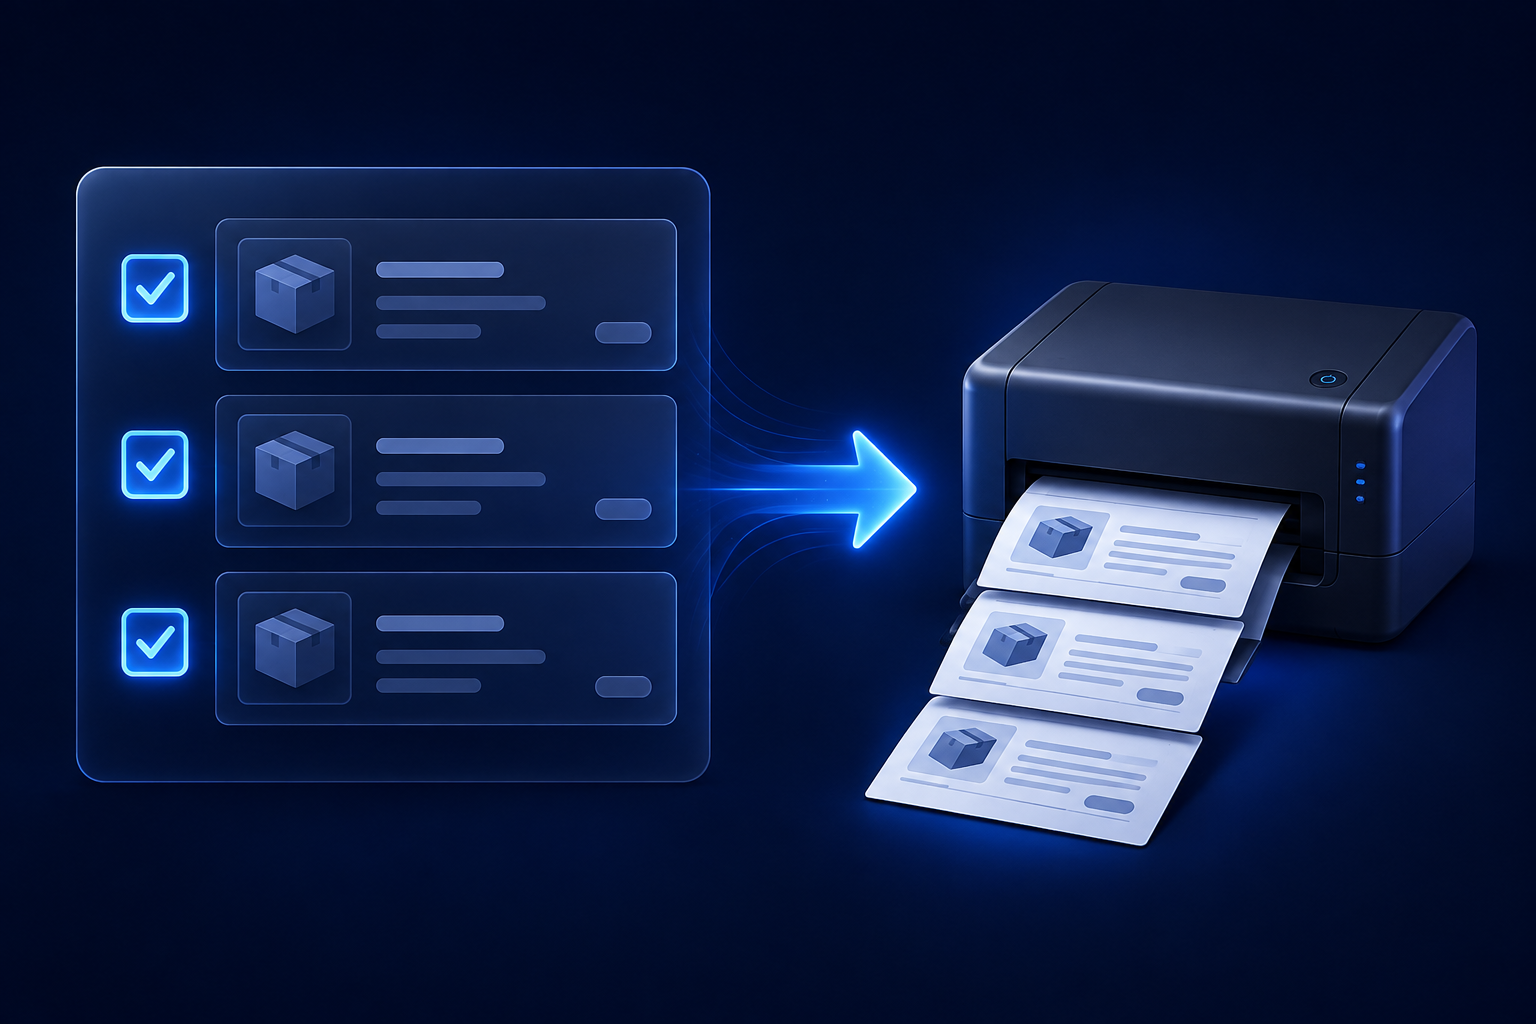
Select once and print multiple orders

Business value
Reduce repetitive printing work when preparing several orders together.
Bulk print selected orders from OSOSS Orders instead of opening and printing each individually.
How to use
- Open the orders list in OSOSS Orders.
- Select the required orders using their checkboxes, or Select All for displayed orders.
- Choose Print and the supported printer and size. Each order starts separately.

Sales · Invoices
Keep payment references on printed invoices


Business value
Keep a printed invoice traceable to its payment, making reconciliation and follow-up easier.
Include complete tracking and reference values on all four A4 invoice templates when available.
How to use
- Open the invoice and review Summary > Tracking ID / Reference ID.
- Print using any of the four A4 invoice templates.
- Check the complete reference near the payment method. The field is omitted if no reference exists.
Find branch stock while invoicing


Business value
Answer stock-availability questions during a sale without leaving the invoice.
See quantities in the current and other permitted branches from the invoice product selector.
How to use
- Open a sales invoice and choose its branch.
- Search for a product in the invoice selector and review the highlighted current-branch quantity.
- Compare other permitted branches before choosing the product. Viewing their stock does not change the invoice branch.
Choose the right discount per item


Business value
Apply the offer each item needs while keeping invoice totals automatically recalculated.
Apply a fixed currency amount or percentage independently to each sales-invoice line.
How to use
- Add products to a sales invoice.
- On each product row, choose Currency or Percentage and enter its discount value.
- Review the item and invoice totals before saving. Percentages must be 0–100; fixed discounts cannot exceed the item subtotal.

Online Store
Give products more sharing options


Business value
Let customers recommend a product through more of the channels they already use.
Share product links through Instagram, Snapchat, and LinkedIn alongside existing supported channels.
How to use
- Open a product's details on the website or mobile app and select Share Product.
- Choose Instagram, Snapchat, LinkedIn, or an existing supported channel.
- Complete sharing through the available app, web or native sharing flow; support varies by device.
Show more views of each product


Business value
Help shoppers inspect products from more angles without leaving the listing.
Let shoppers browse up to five product images directly within supported website product cards.
How to use
- Use a product with multiple configured images on a supported website listing or home-page card.
- On desktop, hover over the card and use Previous/Next; on mobile, swipe across the image.
- Browse up to five images, then open the card when you want the full product details.
Control automatic image scrolling


Business value
Choose between automatic image movement and a calmer, manually controlled product view.
Turn product-image autoplay on or off from theme settings while retaining manual navigation.
How to use
- Open Website > Store Settings > Theme > Product.
- Set Auto Image Scroller to On or Off and save.
- Open a product with multiple images to review the result. Manual image navigation remains available when Off.

Customers
Find exactly the customers you need


Business value
Build more precise customer segments and reuse the same filters for follow-up.
Use supported comparisons, ranges, multiple values, and empty-field checks in customer filters.
How to use
- Open Customer Filters and choose a field.
- Select a supported comparison. Between uses From/To, In accepts multiple values, and Blank needs no value.
- Apply the filter and save it if you want to reuse its field, operator and values.
Avoid phone-field confusion at checkout

Business value
Avoid assuming that an extra contact field will replace the phone number used for login and other system functions.
Show a configuration warning when a custom phone field is used while the system phone field is disabled.
How to use
- Open Settings > Data Fields and create a custom field of type Phone.
- If the system Phone Number field is disabled, read the warning shown before saving.
- Choose Continue & Save only for extra contact information, or Cancel to review the phone configuration.

Marketing · Loyalty
Reward purchases proportionally


Business value
Align loyalty rewards with eligible spending instead of using the same fixed award for every purchase.
Set percentage-based loyalty points and inclusive numeric ranges in loyalty rules.
How to use
- Open a loyalty rule and configure the earning trigger and applicable total.
- For numeric conditions, choose Between and enter From/To when a range is needed.
- Under Actions, set Points amount to Percentage of Total, enter the percentage, and save the rule.
Target offers by brand and category


Business value
Focus incentives on relevant brands and product groups instead of applying broad discounts.
Use searchable brand and category conditions in cart, loyalty, and order rules.
How to use
- Open a cart, loyalty or order rule and go to its conditions.
- Choose the supported Brand or Category condition, then select the comparison and relevant values.
- Save the rule and review it with a matching and nonmatching cart or order before wider use.
Turn purchase history into relevant offers


Business value
Distinguish first-time and returning customers when defining cart offers.
Apply numeric comparisons to previous order counts when building cart rules.
How to use
- Open Cart Rules > Conditions > Order count in purchased history.
- Select a numeric comparison and enter an order count; use From/To for Between or Not between.
- Save the rule with the desired action. A customer with no previous orders is evaluated as zero.
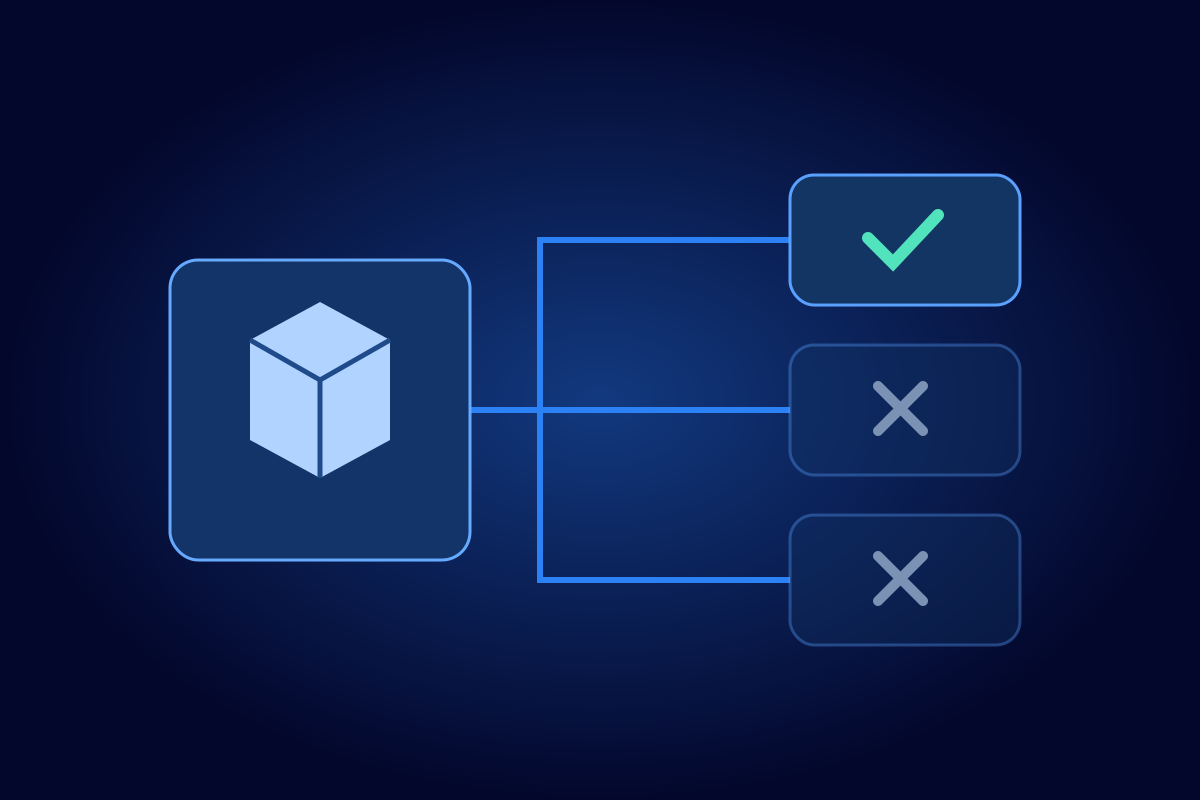
Keep the ad catalog focused

Business value
Avoid duplicate variant entries in your advertising catalog without changing inventory records.
Exclude child variants from the Dynamic Ads RSS feed while retaining parent products and unchanged inventory structure.
How to use
- Open Dynamic Ads Catalog Sync (RSS Feed) settings.
- Enable Exclude variant products and save the feed configuration.
- Review the generated feed: parent and standalone products remain; child variants are excluded when the option is enabled.
Marketing · Loyalty
Preview: customer passes for Apple and Google Wallet

Business value
Planned: make customer identification at POS easier with a branded wallet pass.
Under testing: the Digital Wallet Pass add-on is intended to let customers save a branded pass and identify themselves at POS with a QR code.
How to use
- This feature was under testing in the export; confirm availability before enabling it.
- Once available, open the Digital Wallet Pass add-on settings, configure the appearance and customer fields, then save.
- The intended customer flow is Add to Apple/Google Wallet, followed by scanning the pass QR code at POS.