
POS Users
A POS user is a member of staff who can open a register session. The record links three things: the person, the branch they work at, and the cash account their takings post to.
Menu path: POS > Users
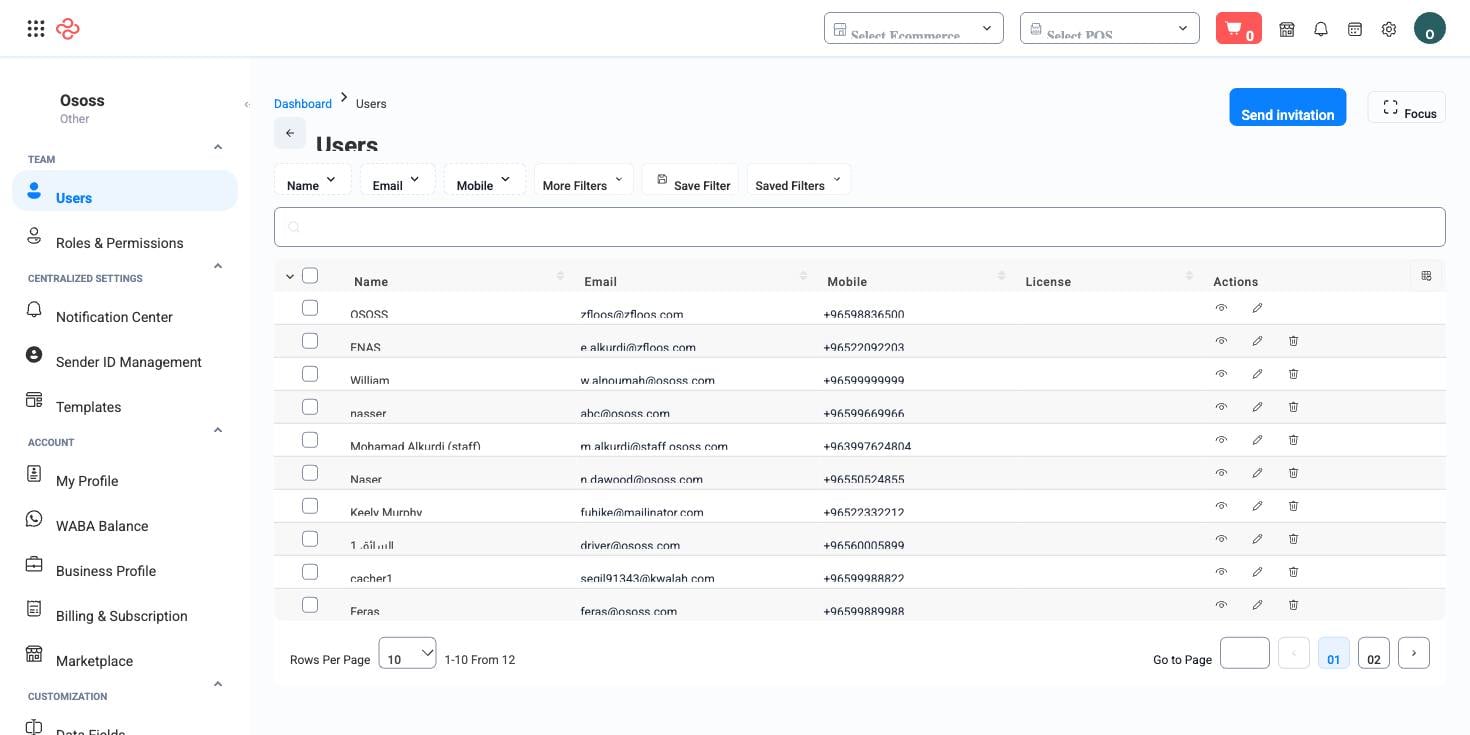
What the record holds
| Field | Purpose |
|---|---|
| User | The dashboard user account behind the cashier |
| Branch | The branch they operate a register at |
| Cash account | The account their cash takings post to |
| Is online | Whether they are currently signed in at a register |
| Last login | When they last used the POS |
The cash account is the field that matters most and gets least attention. It is where a cashier's cash sales land, so it is also what makes a drawer reconcilable: if two cashiers on the same register post to the same account, a shortage belongs to the shift rather than to a person. Give each cashier their own account where accountability matters, and share one where the register is genuinely shared.
Is online and Last login give you the operational picture: who is on a till right now, and who has not used the system in weeks - which is usually an account to deactivate.
Set up a cashier
- Create the user account first under Users and Roles, on the POS panel with the permissions their role needs.
- Add them here, choosing the Branch they work at.
- Set the Cash account according to how you want to reconcile - per cashier for accountability, per register where shifts are shared.
- Have them sign in once and open a test session, so the first real shift is not also the first attempt.
- Review the list monthly and remove staff who have left.
Full reference
Every option and control on this page, at a glance.
Filters (1)
- Identity and numbering: Branch ID
Form fields (3)
Branch ID, Cash account ID, User ID
Standard list tools
Every list page in OSOSS shares these controls:
- Manage columns - the icon at the right edge of the header row: search columns, tick to show or hide, drag to reorder. Your selection persists for your user.
- Quick search - matches the page's primary field.
- Filter chips + More Filters - the chips are your defaults; More Filters exposes the full set below.
- Save Filter / Saved Filters - name a filter combination and recall it in one click; one can be your default view.
- Reset - clears filters back to defaults.
- Export All - downloads the current filtered rows with exactly the columns you have selected.
- Focus - hides the surrounding chrome for a full-width table.
- Row selection - the header checkbox selects the page or all matching rows, enabling bulk actions.
- Rows per page and page jumper - at the foot of the table.
- Custom fields - anything you define under Settings > Custom Fields appears here as both a column and a filter.
Related pages
- POS Sessions - the shifts these users open
- Users and Roles - the accounts and permissions behind them
- POS Branches - register configuration per branch
What you can do on this page
Every action on this page, step by step. What you see depends on your role, so a control your account is not set up for simply does not appear.
Add a record
- Click Add above the table - some pages label it New or show a + icon.
- Complete the form. Required fields carry a red asterisk and the form will not submit until they are filled.
- Click Save. Validation runs on submit; any field that fails shows its message directly beneath itself, and the form scrolls to the first problem.
- You land back on the list with the new record in place.
Fields on this form: Branch ID, Cash account ID, User ID
Edit a record
- Open the row's actions menu at the end of the row and choose Edit, or open the record and use Edit there.
- The form loads with current values. Change only what you need.
- Click Save.
Export the list
- Filter and choose your columns first - the export mirrors exactly what is on screen, not the whole table.
- Click Export All.
- The file downloads as a spreadsheet: one row per record, your visible columns in your order.