
Users
Users is the register of everyone who can sign in to your OSOSS account, and where you decide how much of the business each of them sees. A user is a person with their own credentials; what they can do is the sum of the roles you give them, the permissions you tick, and the branches you allow them into.
Menu path: Settings > Team > Users
URL: https://my.ososs.com/dashboard/users
Panels, roles and permissions
Access in OSOSS is organised by panel - the application someone signs in to. A role belongs to exactly one panel, and its panel cannot be changed after it is created.
| Panel | Who signs in there |
|---|---|
| Dashboard | Back-office staff: owners, accountants, managers |
| POS | Cashiers and shift supervisors at the register |
| Drivers | Delivery staff using the driver app |
| Merchants | Merchant users in a multi-merchant setup |
| Vendors | Suppliers given limited, scoped access |
A role, managed under Settings > Roles, is a named bundle of permissions inside one panel: Manager, Accountant, Fulfilment. Permissions themselves are fine-grained and grouped by module, so "view invoices" and "delete invoices" are separate ticks. This is the mechanism behind a phrase you will see throughout this guide: a permission you do not hold hides its control, so two people can open the same page and see different buttons.
You can assign access two ways, and both live on the user's own page. Quick role assignment ticks a role and pulls its permissions in for you - the maintainable choice, because editing the role later updates everyone who holds it. The permission tree below it lets you add or remove individual permissions for this one person, which is right for exceptions and wrong as a habit.
Branch scoping
Next to the permissions sits Allowed branches. Leave it empty, or tick All, and the user sees every branch. Name one or more branches and the user is scoped: lists, reports and stock figures are limited to those branches. This is what makes a branch manager safe to appoint - full permissions inside their own branch, invisible elsewhere - and it is per user, not part of the role, so set it for each person you add.
Vendor access is stricter still. Permissions on the Vendors panel require you to select the vendor the user is linked to, and Save stays disabled until you do. A supplier can see their own products and statements, and nothing about anyone else's.
Invite a team member
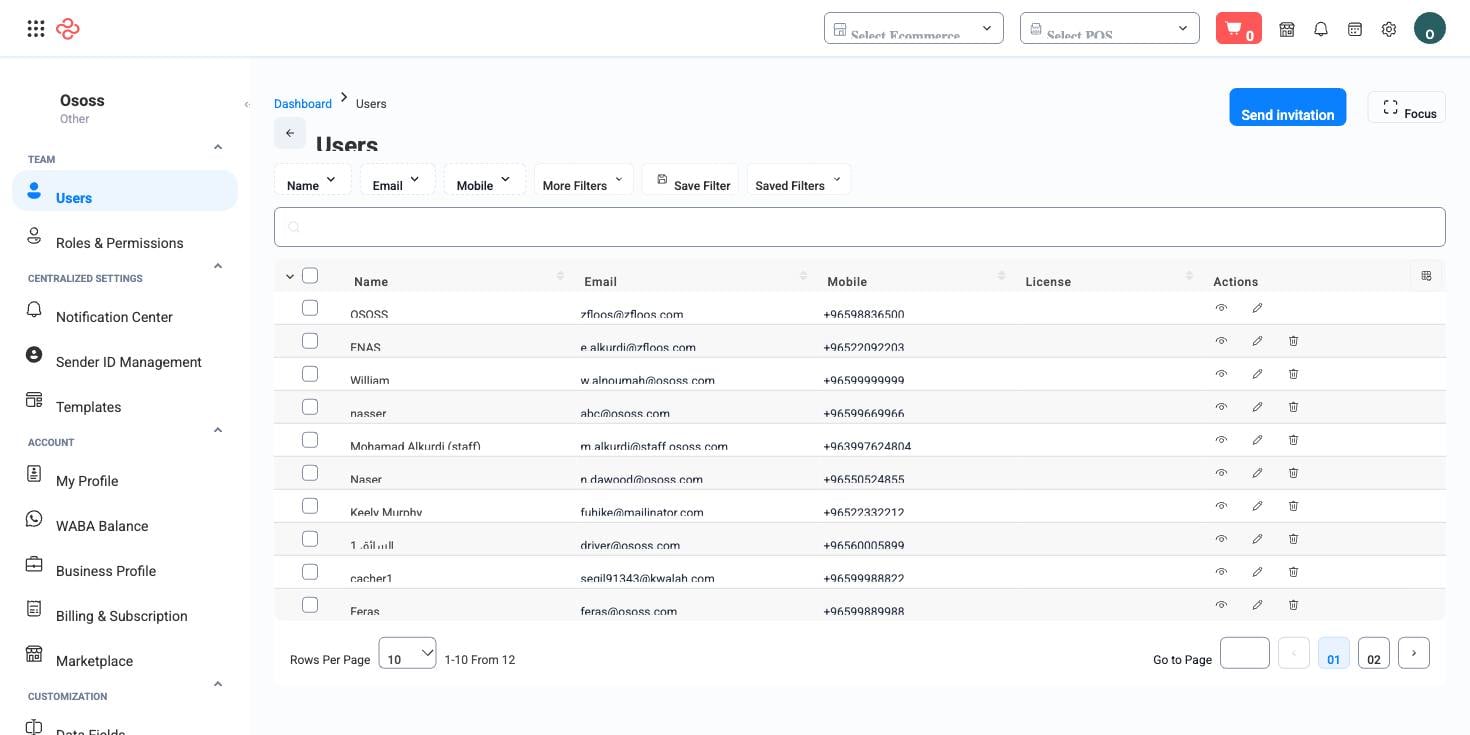
- On Settings > Users, use Send invitation. There is no create-a-user form: people join by accepting an invitation and setting their own password.
- Enter the recipient's e-mail and pick the roles they should start with. The subject and message are pre-filled with your company and your name; edit them if you want.
- Choose the licence to consume. Each additional user takes a user licence from your plan, and only available licences are offered - if the list is empty, buy a seat under Subscriptions first.
- Send. Once they accept, open their row and refine permissions and allowed branches.
Reading the list
The list shows name, e-mail, mobile and the licence assigned to each user with its start and end dates. When a licence has been cancelled, the name carries a red note giving the date the account will be deactivated - useful warning that someone is about to lose access mid-week.
Related pages
- POS Users - the register-side accounts
- Subscriptions - where user licences come from
- Branches - the branches you scope users to
- Company - the company these accounts belong to