
Vendors
A vendor is a supplier you buy from. The record holds who they are, how to reach them, what currency they bill in, and - through their bills and payments - what you owe them.
Menu path: Purchases > Vendors
URL: https://my.ososs.com/dashboard/vendors
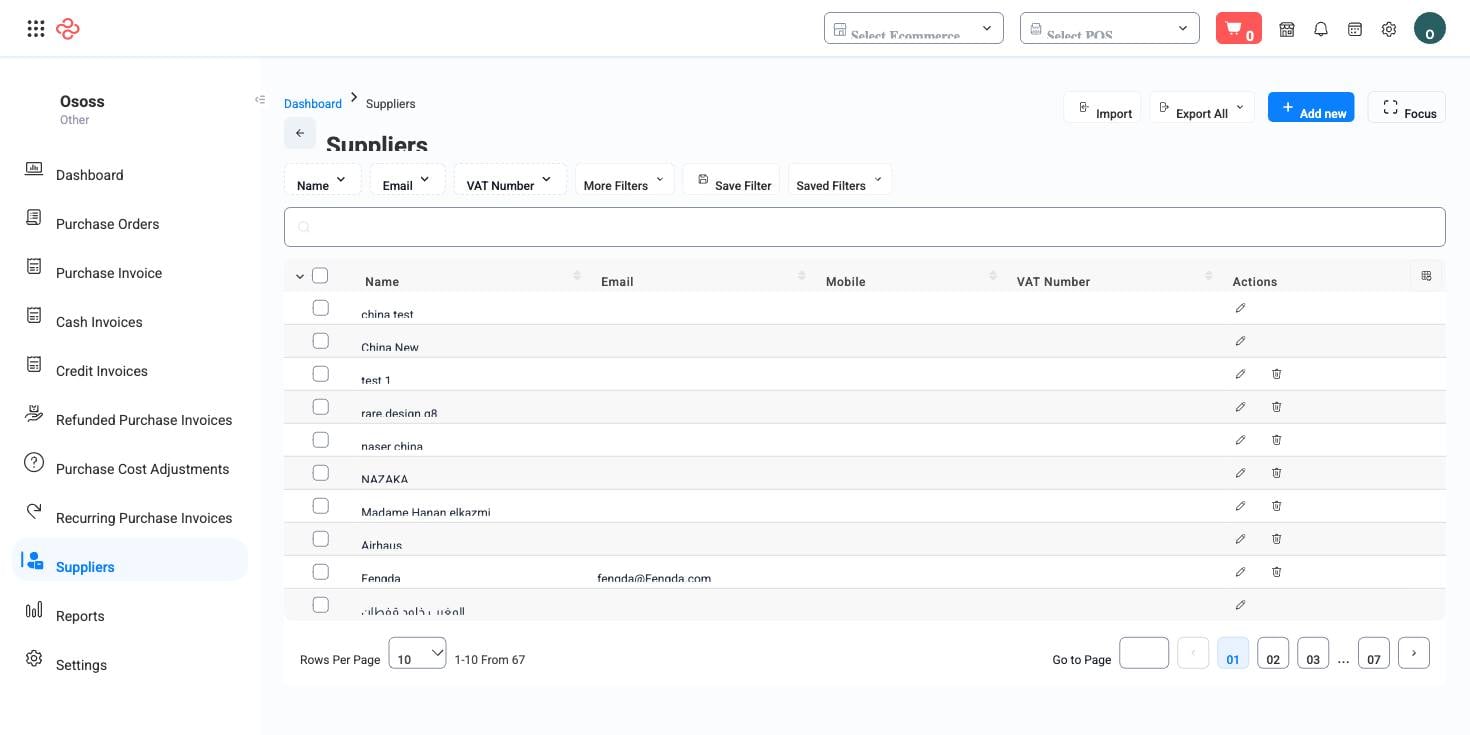
What a vendor record holds
| Field | Why it matters |
|---|---|
| Name | Appears on every bill, purchase order and payable report |
| Email and mobile | Where orders and queries go |
| VAT number | Required on compliant purchase documents and in tax reporting |
| Currency | The currency this supplier bills in; it drives the exchange rate on their bills |
| Address | Country, city, area, street, phone and website - the delivery and correspondence detail |
| Is customer / linked customer | Marks a party you both buy from and sell to, linked to their customer record |
The currency field is the one that saves the most trouble later. Set it on the vendor and every bill you raise starts in the right currency with the right exchange-rate prompt, instead of someone converting by hand and rounding differently each month.
Is customer covers a real and awkward case: the business that supplies you and buys from you. Linking the two records lets you see both sides of the relationship rather than treating them as strangers who happen to share a name.
Set up a vendor
- Enter the legal name as it appears on their invoices, not the trading name you use in conversation. Reconciliation follows the invoice.
- Record the VAT number if they issue tax invoices - it belongs on your purchase documents, and chasing it later is harder than asking now.
- Set the currency they bill in.
- Enter contact details for the person who takes orders, not the head office switchboard.
- Complete the address, including whatever detail a driver needs for collections and returns.
- Mark Is customer and link the customer record if you also sell to them.
Full reference
Every option and control on this page, at a glance.
Filters (5)
- Identity and numbering: ID, VAT number
- Dates and periods: Last date
- Other: Email, Name
Standard list tools
Every list page in OSOSS shares these controls:
- Manage columns - the icon at the right edge of the header row: search columns, tick to show or hide, drag to reorder. Your selection persists for your user.
- Quick search - matches the page's primary field.
- Filter chips + More Filters - the chips are your defaults; More Filters exposes the full set below.
- Save Filter / Saved Filters - name a filter combination and recall it in one click; one can be your default view.
- Reset - clears filters back to defaults.
- Export All - downloads the current filtered rows with exactly the columns you have selected.
- Focus - hides the surrounding chrome for a full-width table.
- Row selection - the header checkbox selects the page or all matching rows, enabling bulk actions.
- Rows per page and page jumper - at the foot of the table.
- Custom fields - anything you define under Settings > Custom Fields appears here as both a column and a filter.
Related pages
- Purchase Invoices - what a vendor charges you
- Purchase Orders - what you order from them
- Refunded Purchase Invoices - returns to a vendor
What you can do on this page
Every action on this page, step by step. What you see depends on your role, so a control your account is not set up for simply does not appear.
Open and read a record
- Click the row, or choose View in the row's actions menu.
- The detail page shows the record's own fields, its related documents, and the actions that apply to it in its current state.
- Use the breadcrumb or your browser's back button to return - your filters, sort, and page position are preserved.
Export the list
- Filter and choose your columns first - the export mirrors exactly what is on screen, not the whole table.
- Click Export All.
- The file downloads as a spreadsheet: one row per record, your visible columns in your order.