
Opening Entry
The opening entry is the single journal entry that carries your existing balances into OSOSS on the day you go live - bank and cash, what customers owe you, what you owe suppliers, inventory value, fixed assets, capital and retained earnings. Without it your books start at zero, so every report shows only what has happened since you signed up rather than where the business actually stands.
Menu path: Accounting > Opening Entry
URL: https://my.ososs.com/dashboard/opening-entry
How the opening entry works in OSOSS
There is exactly one opening entry per company. The page is not a list - it opens the entry you already have, or a blank one if you have none, and saving overwrites it. An opening balance is a single statement of fact, not a series of documents, so you can keep correcting it during setup without leaving half-finished entries behind.
The entry is stored as a normal accounting movement flagged as the company opening entry, posted with status accepted, in the company currency, and attached to the fiscal year containing the date you choose. It behaves like any other posted movement: it shows in the trial balance, feeds the balance sheet, and forms the opening column of every account statement.
| Element | Behaviour |
|---|---|
| Date | Placed in the fiscal year that covers it. A date inside a closed fiscal period is rejected. |
| Note | Required. Becomes the entry's name in the ledger, so write "Opening balances as at 31 Dec". |
| Lines | At least two, one account each. An account appears only once - picking it again is ignored. |
| Debit / credit | One side per line. Filling debit disables credit on that row, and the reverse. |
| Balance | Debit and credit totals must match to the third decimal or the save is refused. |
Before you start
Set up your chart of accounts first - every line needs an account to point at. Open the fiscal year that contains your cutover date, and confirm the company currency is right, because the entry is stamped with it. Then take the numbers from your previous system's closing trial balance: it is already balanced, which turns this job from accounting into transcription.
Enter your opening balances
- Open Accounting > Opening Entry. If an entry exists, its date, note and lines load for you to edit.
- Set the Date to your cutover date - normally the last day you used the old system - and write the Note.
- Click Add account under the lines table and pick an account. Repeat for every balance you are carrying over.
- Type the amount in Debit or Credit. Assets and expenses are debits; liabilities, equity and income are credits.
- Watch the Debit, Credit and Difference totals under the table. Difference turns red until it reaches zero.
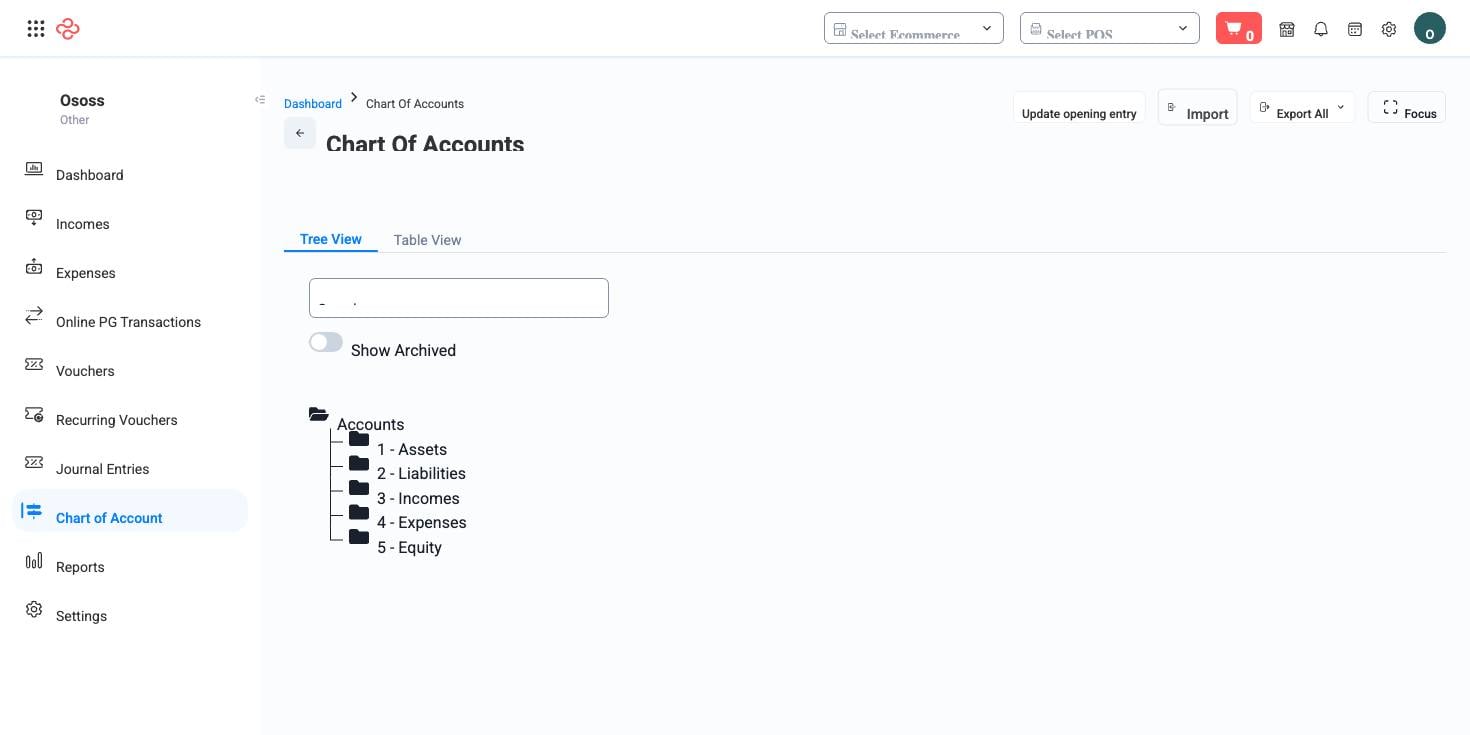
- Click Save. OSOSS drops you on Chart of Accounts so you can check the balances landed where you expected.
If the totals do not match, the save fails with "The opening entry is incorrect" and nothing is written. A stubborn difference is almost always a missing capital or retained-earnings line - that account absorbs the gap between what you own and what you owe.
Importing instead of typing
For a long chart, use Import in the page header. The template has four columns: account name, account number, debit and credit. Matching is by account, so check that your spreadsheet uses the same account numbers as your chart before uploading.
Full reference
Every option and control on this page, at a glance.
Form fields (4)
Date, Lines, Lines, Note
Related pages
- Chart Accounts - the accounts your lines point at, and where you verify the result
- Fiscal Years - the period your cutover date must fall inside
- Journal Entries - for corrections once the opening entry is locked
What you can do on this page
Every action on this page, step by step. What you see depends on your role, so a control your account is not set up for simply does not appear.
Add a record
- Click Add above the table - some pages label it New or show a + icon.
- Complete the form. Required fields carry a red asterisk and the form will not submit until they are filled.
- Click Save. Validation runs on submit; any field that fails shows its message directly beneath itself, and the form scrolls to the first problem.
- You land back on the list with the new record in place.
Fields on this form: Date, Lines, Lines, Note
Edit a record
- Open the row's actions menu at the end of the row and choose Edit, or open the record and use Edit there.
- The form loads with current values. Change only what you need.
- Click Save.
Delete a record
- Open the row's actions menu and choose Delete.
- Confirm in the dialog. There is no undo from the interface.
- If the record is referenced elsewhere - used on a document, tied to a transaction - the delete is refused and the reason shown.
Import records
- Click Import.
- Download the template if one is offered - its headers are exactly what the importer expects.
- Fill the template, upload it, then map each of your columns to an OSOSS field.
- Read the validation result: every failing row is listed with its reason. Fix the source and re-upload, or import only the passing rows.
- Confirm. Nothing is written to your account before this step.