
Fiscal Years
A fiscal year tells OSOSS where your accounting year starts and ends, and splits it into the periods you report on. Once a period is closed nothing can be posted into it again - not a voucher, not an expense, not a backdated invoice - which is what turns last month's numbers from "current best guess" into a fixed record.
Menu path: Accounting > Fiscal Years
URL: https://my.ososs.com/dashboard/fiscal-years
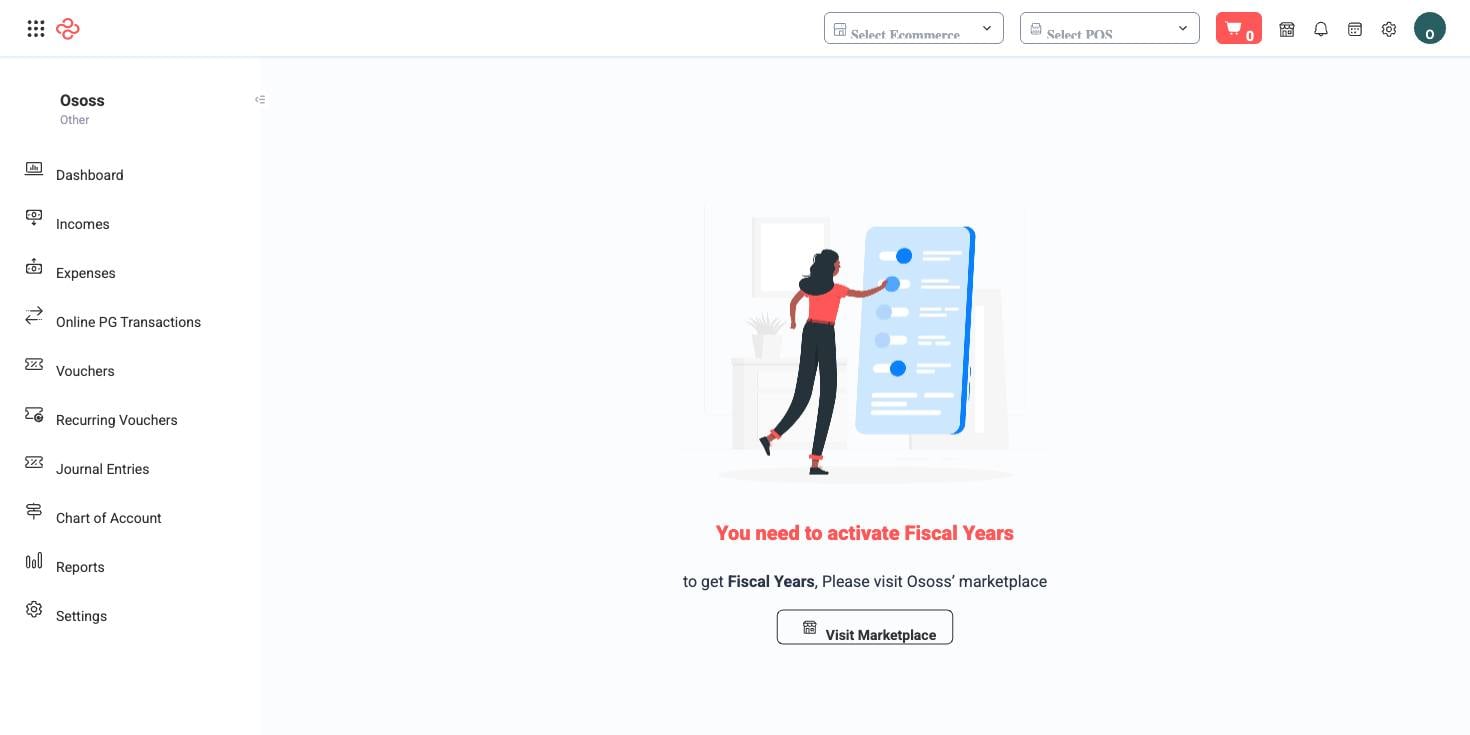
How fiscal years work in OSOSS
You define a year by its name, its start date (chosen as a month and year), and how many periods it splits into. The end date is calculated for you - twelve months from the start - and the periods are generated automatically:
| Periods | Each period covers | Typical use |
|---|---|---|
| 2 | Six months | Light reporting, two half-year closes |
| 4 | Three months | Quarterly management reporting |
| 12 | One month | Monthly close, the usual choice |
Two rules are enforced when you save. Years may not overlap, and only one year may be Open at a time. Each period carries its own status: Open while it accepts postings, Closed once you have locked it. Any document dated inside a closed period is rejected with a validation error on save, which is why an accountant chasing "why won't this voucher save?" should look at the date first.
Before you start
Build your Chart of Accounts and post your Opening Entry first, then create the year those balances open. Decide the cycle now: most Kuwait businesses run the calendar year, but if a licence or a parent company reports on a different cycle, set it before your first month of data.
Create a fiscal year
- Click the create button on the list.
- Enter a Name - the year it represents is enough, and names must be unique.
- Pick the From date as a month and year; the start of that month is used.
- Choose Periods: 2, 4, or 12.
- Save, then open the year to see its generated periods with their date ranges and statuses.
Closing a period
Closing is guarded. Open the year and click Info on the period row: OSOSS runs a pre-close check and shows exactly what is unfinished.
- open POS sessions, draft journals, and unbalanced journals
- draft sales invoices, draft purchase invoices, draft incomes, and draft expenses
- scheduled recurring sales and purchase invoices still due in the range
- transactions missing their accounting movements, broken down by document type
- whether the trial balance balances, with its total debit and total credit
A red badge or a padlock on Blocked means the close is refused until you clear the item. When everything reads green, use Close the period and confirm; OSOSS records who closed it and when.
Closing the whole year is a separate action from the year's page: Close fiscal year asks for the equity account retained earnings should be carried to, plus an optional note, and posts the closing entry.
Common cases
Once the add-on is active, the accounting reports - trial balance, balance sheet, profit and loss, account transactions, customer and supplier statements, cash flow, cheque register - gain a fiscal year filter, so "the same report, last year" is one dropdown instead of two typed dates.
Full reference
Every option and control on this page, at a glance.
Filters (5)
- Dates and periods: From date, Periods, To date
- Status and flags: Status
- Other: Name
Form fields (3)
From date, Name, Periods
Standard list tools
Every list page in OSOSS shares these controls:
- Manage columns - the icon at the right edge of the header row: search columns, tick to show or hide, drag to reorder. Your selection persists for your user.
- Quick search - matches the page's primary field.
- Filter chips + More Filters - the chips are your defaults; More Filters exposes the full set below.
- Save Filter / Saved Filters - name a filter combination and recall it in one click; one can be your default view.
- Reset - clears filters back to defaults.
- Export All - downloads the current filtered rows with exactly the columns you have selected.
- Focus - hides the surrounding chrome for a full-width table.
- Row selection - the header checkbox selects the page or all matching rows, enabling bulk actions.
- Rows per page and page jumper - at the foot of the table.
- Custom fields - anything you define under Settings > Custom Fields appears here as both a column and a filter.
Related pages
- Opening Entry - the balances your first year starts from
- Journal Entries - where you find the drafts a close is waiting on
- Reports - the statements the fiscal year frames
What you can do on this page
Every action on this page, step by step. What you see depends on your role, so a control your account is not set up for simply does not appear.
Add a record
- Click Add above the table - some pages label it New or show a + icon.
- Complete the form. Required fields carry a red asterisk and the form will not submit until they are filled.
- Click Save. Validation runs on submit; any field that fails shows its message directly beneath itself, and the form scrolls to the first problem.
- You land back on the list with the new record in place.
Fields on this form: From date, Name, Periods
Edit a record
- Open the row's actions menu at the end of the row and choose Edit, or open the record and use Edit there.
- The form loads with current values. Change only what you need.
- Click Save.
Open and read a record
- Click the row, or choose View in the row's actions menu.
- The detail page shows the record's own fields, its related documents, and the actions that apply to it in its current state.
- Use the breadcrumb or your browser's back button to return - your filters, sort, and page position are preserved.
Delete a record
- Open the row's actions menu and choose Delete.
- Confirm in the dialog. There is no undo from the interface.
- If the record is referenced elsewhere - used on a document, tied to a transaction - the delete is refused and the reason shown.
Export the list
- Filter and choose your columns first - the export mirrors exactly what is on screen, not the whole table.
- Click Export All.
- The file downloads as a spreadsheet: one row per record, your visible columns in your order.