
Journal Entries
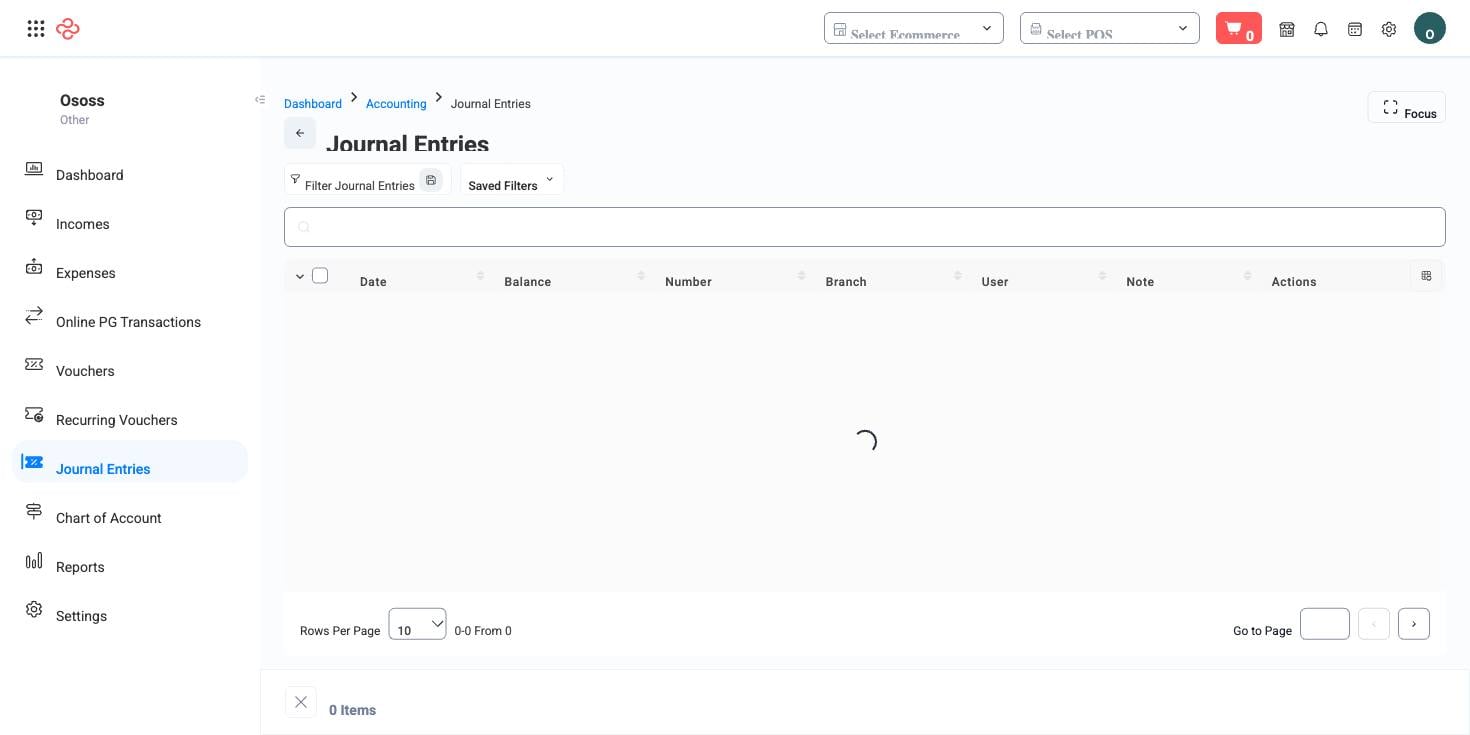
Journal Entries is the ledger itself. Every posted document in OSOSS - a sales invoice, a POS order, a supplier bill, a payment, a stock movement, a manual voucher - ends up as a set of debits and credits here. Nothing is entered on this page and nothing is changed on it; it is where you go to prove a number rather than produce one.
Menu path: Accounting > Journal Entries
URL: https://my.ososs.com/dashboard/accounting/journal-entries
How the journal works in OSOSS
An entry has a header and lines. The header carries the date, the running number within its journal type, the branch, the user who caused it, a note, and the entry's balance. The lines are the double entry: each one names an account by number and name, a debit or a credit, an optional cost center, and its own description. Open an entry and the detail page totals the debits, totals the credits, and shows the difference - which should always read zero.
The list shows only posted entries. Draft incomes, expenses, and vouchers are deliberately absent: they have not affected your books yet, so they have nothing to show here. When someone asks why an expense they entered yesterday is missing from the journal, the answer is almost always that it is still sitting on the Draft tab of its own page waiting to be accepted.
Every row is read-only. The page exposes no add, edit, or delete at all, for anyone, at any permission level. Corrections are made where the record was made:
| Problem | Where to fix it |
|---|---|
| Wrong amount or account on a manual entry | Edit or delete the Voucher, Income, or Expense that produced it |
| Wrong figures from a sales or purchase document | Issue a refund, credit note, or adjustment against the original document |
| Right figures, wrong account | Fix the account mapping on the product, gateway, or category, then post a correcting voucher for what already went through |
Entries are scoped by branch, so a user limited to one branch sees only that branch's postings. Access is a separate permission from the rest of accounting: a role without it does not see the menu item at all.
When you will open this page
- Explaining a balance. Filter by account and date range, and the list becomes that account's statement of movement.
- Auditing a figure. Filter by number or note to walk from a report total back to the documents behind it.
- Verifying automation. After changing an account mapping on a product, a gateway, or an expense category, post one test document and confirm it landed where you expected.
- Answering your accountant. Filter by journal type and export, and their month-end review arrives as one file per book.
Full reference
Every option and control on this page, at a glance.
Filters (8)
- Identity and numbering: Account ID, Branch ID, Cost center ID, Journal type ID, Number
- Dates and periods: From date, To date
- Other: Note
Standard list tools
Every list page in OSOSS shares these controls:
- Manage columns - the icon at the right edge of the header row: search columns, tick to show or hide, drag to reorder. Your selection persists for your user.
- Quick search - matches the page's primary field.
- Filter chips + More Filters - the chips are your defaults; More Filters exposes the full set below.
- Save Filter / Saved Filters - name a filter combination and recall it in one click; one can be your default view.
- Reset - clears filters back to defaults.
- Export All - downloads the current filtered rows with exactly the columns you have selected.
- Focus - hides the surrounding chrome for a full-width table.
- Row selection - the header checkbox selects the page or all matching rows, enabling bulk actions.
- Rows per page and page jumper - at the foot of the table.
- Custom fields - anything you define under Settings > Custom Fields appears here as both a column and a filter.
Related pages
- Vouchers - the only way to write a journal entry by hand
- Journal Types - the books this list can be filtered into
- Reports - the trial balance and statements built on these entries
What you can do on this page
Every action on this page, step by step. What you see depends on your role, so a control your account is not set up for simply does not appear.
Open and read a record
- Click the row, or choose View in the row's actions menu.
- The detail page shows the record's own fields, its related documents, and the actions that apply to it in its current state.
- Use the breadcrumb or your browser's back button to return - your filters, sort, and page position are preserved.
Export the list
- Filter and choose your columns first - the export mirrors exactly what is on screen, not the whole table.
- Click Export All.
- The file downloads as a spreadsheet: one row per record, your visible columns in your order.
Print or save as PDF
- Choose Print in the row's actions menu, or open the record and use Print there.
- Pick the template or format if you are prompted.
- Your browser's print dialog opens - print it, or choose Save as PDF as the destination.