
Order Rules
Order rules are the promotion engine that reads a whole order and decides what the customer earns from it: a free item, a discount, free delivery through a particular payment method, or a tiered reduction that grows with the basket. You describe the situation once, as conditions, and describe the reward once, as actions, and every order that matches is treated the same way without anyone remembering to apply anything.
Menu path: Settings > Order Rules
URL: https://my.ososs.com/dashboard/general-settings/order-rules
How a rule is built
Each rule has three sections. General details carries the name, the switch that enables it, the start and end dates and the priority. Conditions is the "if" - an all/any group of tests against the order. Then is the reward. Both sides are builders: you add a line, choose a field, choose an operator, choose values.
The conditions available at order level are the facts OSOSS knows when the order is complete: payment method, order total, number of items, the customer's order and product history, order status, payment status, products, categories, customer group, delivery zone, branch, and channel - POS, online store or mobile app. That last one is how a rule is limited to a single sales channel.
| Action | What the customer gets |
|---|---|
| Free payment method | The fee on the chosen payment method is waived |
| Free order count | A number of orders free |
| Buy X get cheapest free | The cheapest line is free once the quantity threshold is met |
| Discounted order | A discount on the order, fixed or percentage |
| Products | Named products granted, with a quantity |
| Categories | Products from named categories granted, with a quantity |
| Tiered discount | Bands where a bigger order earns a bigger reduction |
Every action also carries a redeem count, which caps how often that reward can be taken.
Create a rule
- Click the create button. The rule opens in a drawer over the list.
- Name it after the offer as your team says it out loud, set Start at, and leave End at empty only for a permanent rule. An end date must be after the start date.
- Set Priority. When several rules match one order, priority decides which is applied first.
- Build the conditions. Choose all when every line must be true, any when one is enough.
- Add at least one action - a rule with no action will not save - and set its redeem count.
- Save. The rule takes effect from its start date on orders created afterwards; orders already placed are untouched.
Reading the list and reusing rules
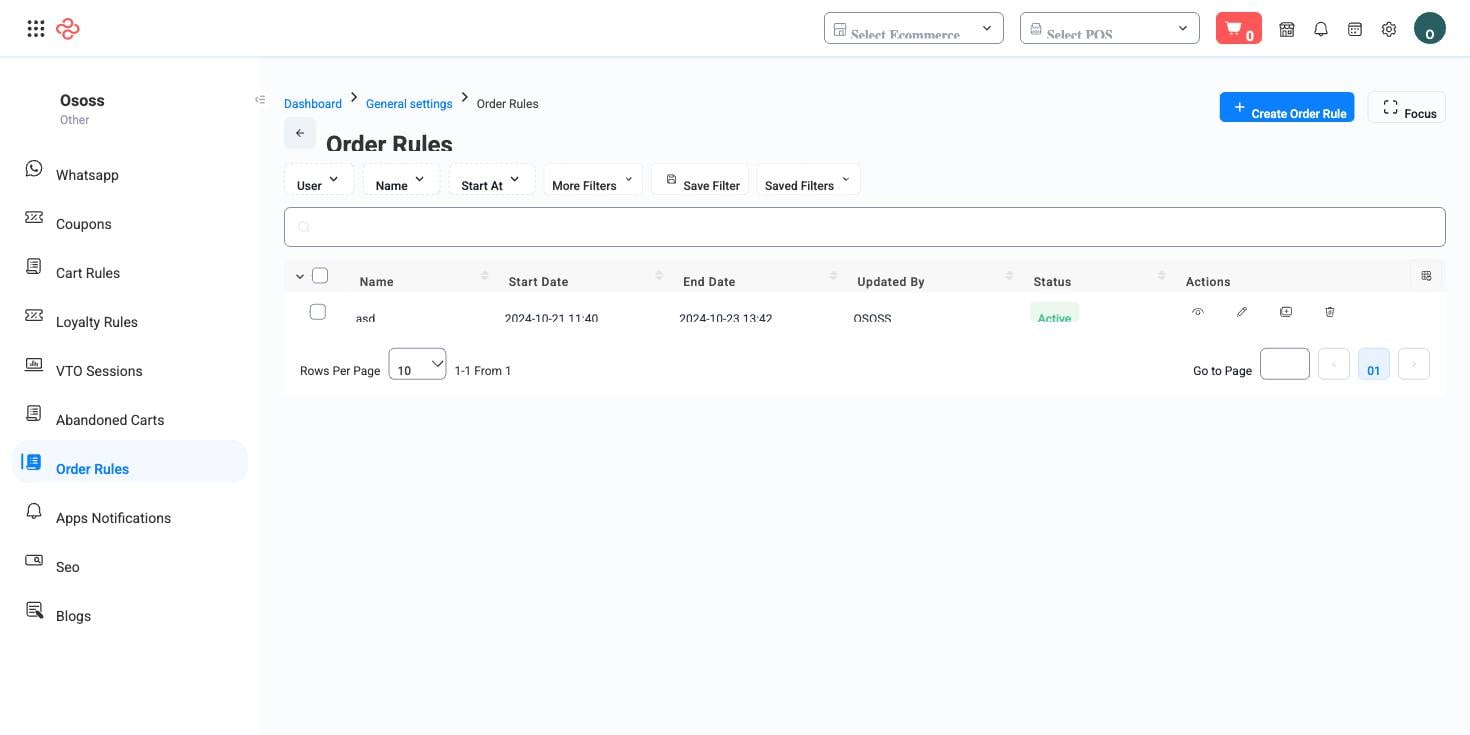
The list shows the name, start and end dates, who last changed it and a status chip: Active or Not active. A rule is only live when the switch is on and today falls inside its dates, so an expired campaign does not need deleting. Each row offers view, edit, duplicate and delete, subject to your permissions - duplicate is the fastest way to build next month's variant of a working offer, since you keep the conditions and only change the dates and the reward.
This page is the order-level half of the same engine. Its cart-level twin runs while the customer is still shopping - see Cart Rules - and both are controlled by the same permission, so a role without it sees neither page.
Full reference
Every option and control on this page, at a glance.
Filters (6)
- Identity and numbering: User ID
- Dates and periods: End at, Start at
- Status and flags: Active
- Other: Level, Name
Standard list tools
Every list page in OSOSS shares these controls:
- Manage columns - the icon at the right edge of the header row: search columns, tick to show or hide, drag to reorder. Your selection persists for your user.
- Quick search - matches the page's primary field.
- Filter chips + More Filters - the chips are your defaults; More Filters exposes the full set below.
- Save Filter / Saved Filters - name a filter combination and recall it in one click; one can be your default view.
- Reset - clears filters back to defaults.
- Export All - downloads the current filtered rows with exactly the columns you have selected.
- Focus - hides the surrounding chrome for a full-width table.
- Row selection - the header checkbox selects the page or all matching rows, enabling bulk actions.
- Rows per page and page jumper - at the foot of the table.
- Custom fields - anything you define under Settings > Custom Fields appears here as both a column and a filter.
Related pages
- Cart Rules - the same engine applied while the basket is open
- Coupons - discounts the customer has to type a code for
- Loyalty Rules - rewards accumulated over time rather than per order
- Payment Methods - the methods a rule can make free
What you can do on this page
Every action on this page, step by step. What you see depends on your role, so a control your account is not set up for simply does not appear.
Delete a record
- Open the row's actions menu and choose Delete.
- Confirm in the dialog. There is no undo from the interface.
- If the record is referenced elsewhere - used on a document, tied to a transaction - the delete is refused and the reason shown.
Export the list
- Filter and choose your columns first - the export mirrors exactly what is on screen, not the whole table.
- Click Export All.
- The file downloads as a spreadsheet: one row per record, your visible columns in your order.